SSLクライアント証明書でユーザ認証 (nginx)
(2015.8)
WebサイトではID・パスワードでユーザ認証することが多い。パスワードが漏洩すると, 第三者に成りすまされる恐れがある。
クライアント証明書をユーザのPCにインストールさせ、クライアント証明書と第2パスワードとを組み合わせることで、次のような効果がえられる;
- パスワードの漏洩だけではセキュリティを突破されないようにできる
- アクセスできるPCを限定できる
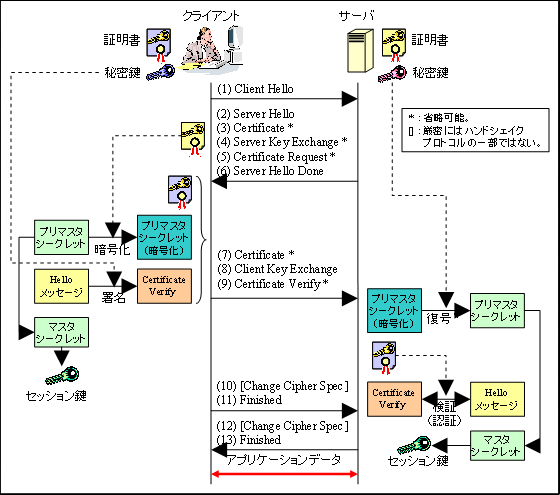
クライアント認証の仕組みは、次の図を見てください。
 出典: http://www.ipa.go.jp/security/pki/071.html
図の中段、クライアント側で Helloメッセージにクライアントの秘密鍵で署名し、サーバ側でクライアントの証明書をつかって検証し、ユーザを認証します。
クライアントに秘密鍵と証明書のペアをインストールさせます。
発行するクライアント証明書
証明書の属性は、次のようにします。
- Basic Constraints:
- critical, CA:FALSE
non critical の場合もあり。
- Key Usage:
- critical,
Digital Signature, Non-Repudiation, Key Encipherment, Key Agreement (e8)あるいは、次のケースもあり;
non critical,
Digital Signature, Key Encipherment (a0) - Netscape Cert Type:
- SSLクライアント認証
- Extended Key Usage:
- critical,
クライアント認証 (1.3.6.1.5.5.7.3.2)
pfx/p12ファイルの発行
クライアントでインストールする(秘密鍵, 証明書)ペアは、PKCS #12形式のファイルとして作ります。拡張子は.p12 または .pfx です。
PKCS #12: Personal Information Exchange Syntax v1.1 (RFC 7292) で定められています。
秘密鍵・署名要求をつくる
クライアント証明書は一般ユーザが利用するため、署名要求 (CSR) は作りません。認証局の側でいきなり秘密鍵と署名要求を作ります。
Subject の Organization Name (O) と Common Name (CN) でユーザが区別されます。
CAスクリプトの -newreq-nodes コマンドを使います。
intermediate-ca$ /etc/pki/tls/misc/CA -newreq-nodes
Generating a 2048 bit RSA private key
....................................................................................+++
......................................+++
writing new private key to 'newreq.pem'
-----
You are about to be asked to enter information that will be incorporated
into your certificate request.
What you are about to enter is what is called a Distinguished Name or a DN.
There are quite a few fields but you can leave some blank
For some fields there will be a default value,
If you enter '.', the field will be left blank.
-----
Country Name (2 letter code) [XX]:JP
State or Province Name (full name) []:Fukuoka
Locality Name (eg, city) [Default City]:Munakata
Organization Name (eg, company) [Default Company Ltd]:Netsphere Laboratories
Organizational Unit Name (eg, section) []:
Common Name (eg, your name or your server's hostname) []:U123456 ユーザID
Email Address []:hisashi.horikawa@gmail.com

Please enter the following 'extra' attributes
to be sent with your certificate request
A challenge password []:
An optional company name []:
Request (and private key) is in newreq.pem
中間CAが署名し, 証明書を作る
設定ファイルをコピーし、編集する。
[ usr_cert ]

# ここを変更
basicConstraints=critical, CA:FALSE

# ここを変更. SSL クライアント
# deprecated: Netscape Certificate Type
# client, server, email, objsign, sslCA, emailCA, objCA
nsCertType = client

# This is typical in keyUsage for a client certificate.
# keyUsage = nonRepudiation, digitalSignature, keyEncipherment
# ここを変更
keyUsage = critical, digitalSignature, keyEncipherment

# これを追加
extendedKeyUsage = clientAuth
中間CAの秘密鍵で署名する。
intermediate-ca$ SSLEAY_CONFIG="-config cert-client-req.cnf" /etc/pki/tls/misc/CA -sign Using configuration fromcert-client-req.cnfEnter pass phrase for/home/hori/my-ca/intermediate-ca/CA/private/cakey.pem: Check that the request matches the signature Signature ok Certificate Details: 証明書の情報が表示される X509v3 extensions: X509v3 Basic Constraints: critical CA:FALSE Netscape Cert Type: SSL Client X509v3 Key Usage: critical Digital Signature, Key Encipherment Netscape Comment: OpenSSL Generated Certificate X509v3 Extended Key Usage: TLS Web Client Authentication 以下略 Certificate is to be certified until Aug 15 13:01:59 2016 GMT (365 days) Sign the certificate? [y/n]:y
PKCS#12形式に変換
PKCS#12ファイルは, クライアント証明書, クライアント秘密鍵, そして認証局の証明書から作ります。
newcert.pem, newreq.pem がカレントディレクトリにある状態で、次のコマンドを実行。
オプションで設定ファイルを与えることはできず, Root CAの証明書が付く。これでも動くが、違うような気がする。openssl pkcs12 ...コマンドで, 中間CAの証明書を付けるべきでは。
intermediate-ca$ /etc/pki/tls/misc/CA -pkcs12
Enter Export Password: PKCS#12ファイルのパスワード
Verifying - Enter Export Password:
newcert.p12 ファイルがカレントディレクトリにできる。
ここからクライアント証明書を取り出すには、
$ openssl pkcs12 -clcerts -nokeys < newcert.p12
CA証明書を取り出すには,
$ openssl pkcs12 -cacerts -nokeys < newcert.p12
秘密鍵を取り出し、内容を表示するには,
$ openssl pkcs12 -nocerts -nodes < newcert.p12 | openssl rsa -text
クライアントでインストール
できあがったPKCS#12ファイルとそのパスワードを、何らかの安全な方法でクライアントに配布する。
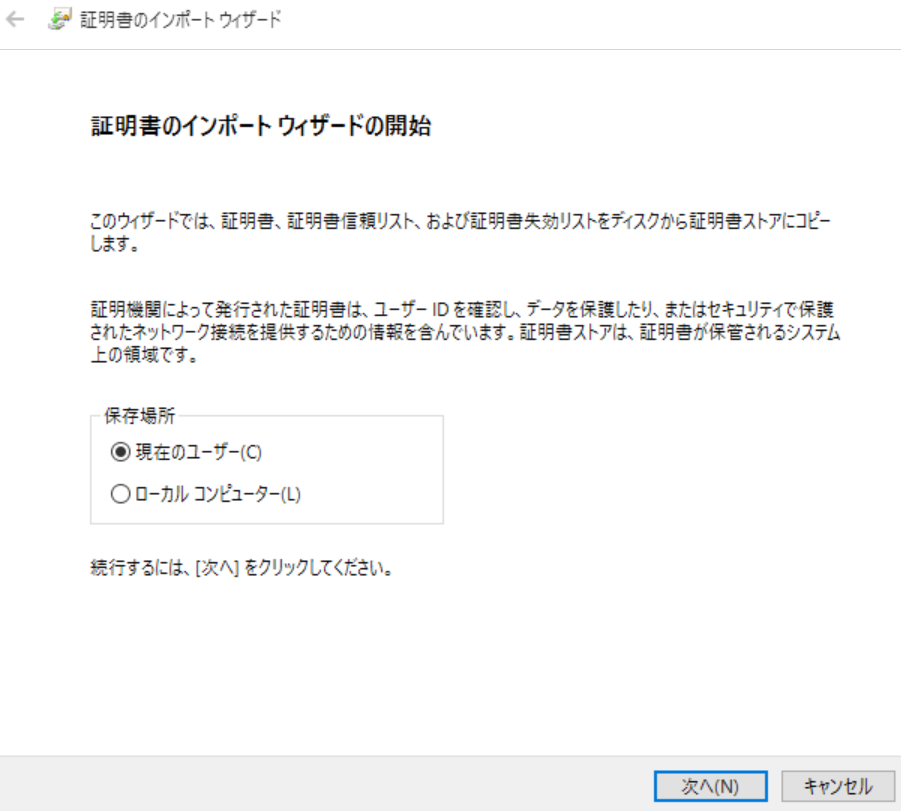
Webブラウザでインポートする。Windowsなら .p12ファイルをダブルクリックして、Internet Explorer の証明書ストアにインポートできる。
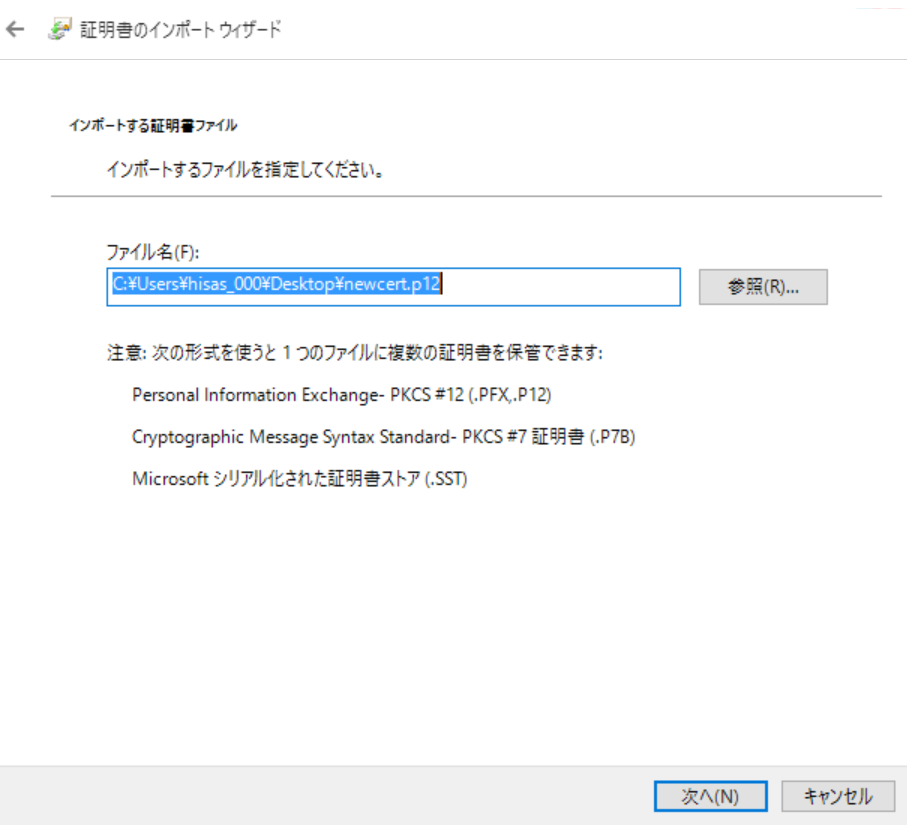
配布された .pfx/.p12 ファイルを選択。
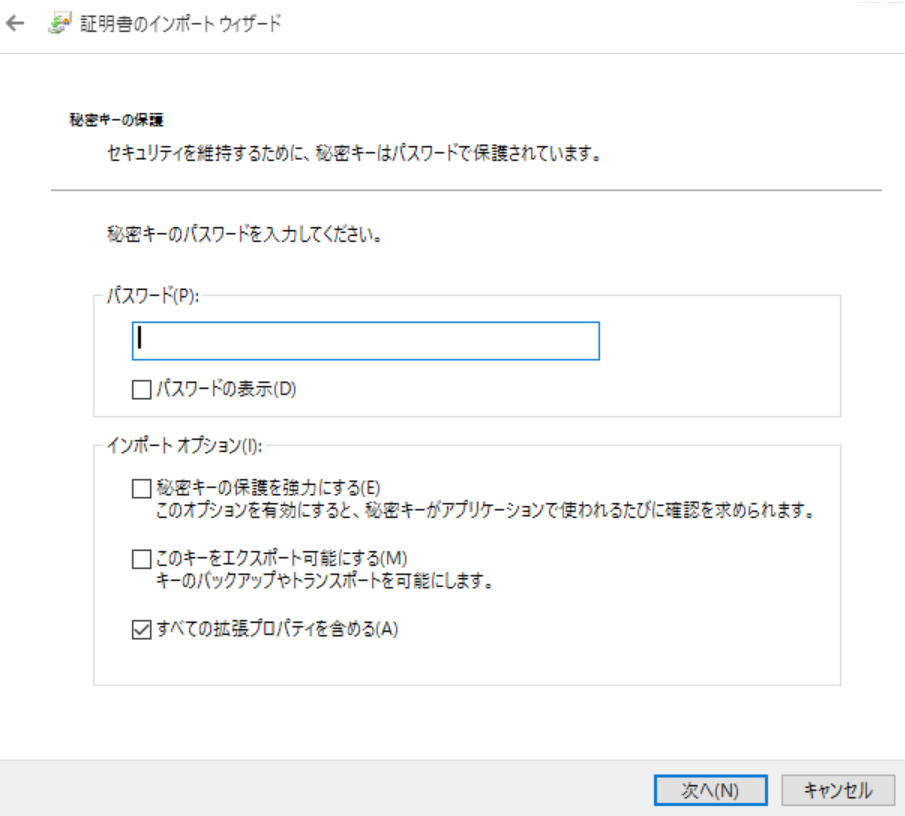
ここで、PKCS#12ファイルを作るときに決めたパスワードを入力。
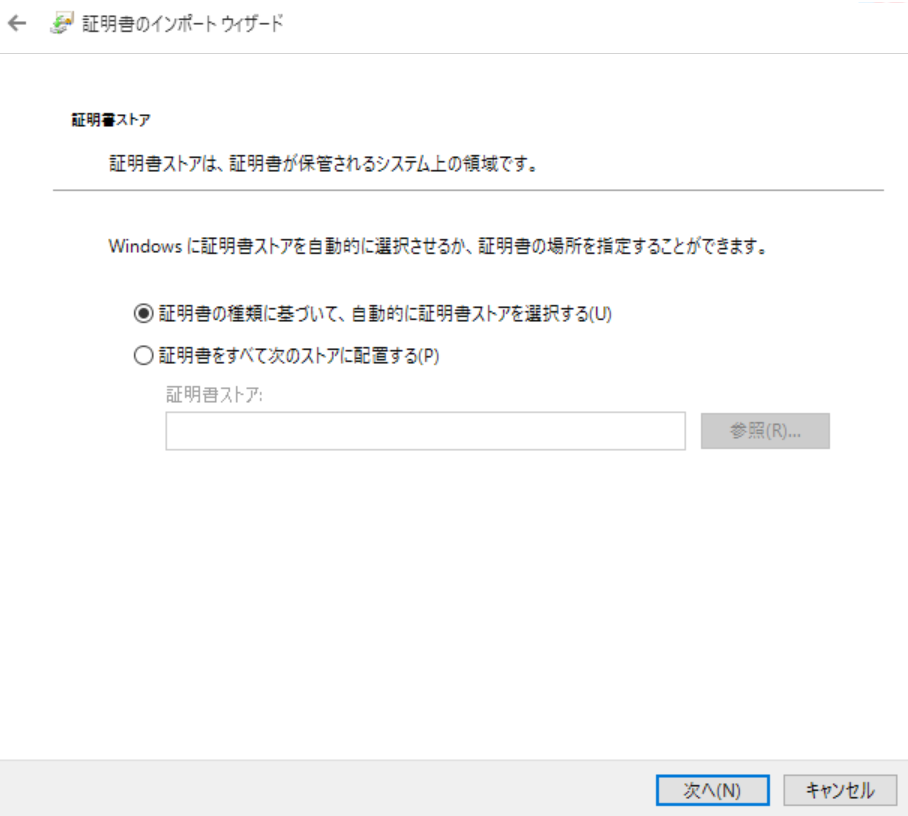
証明書ストアの選択。通常は,「自動的に証明書ストアを選択」のほうでいいだろう。
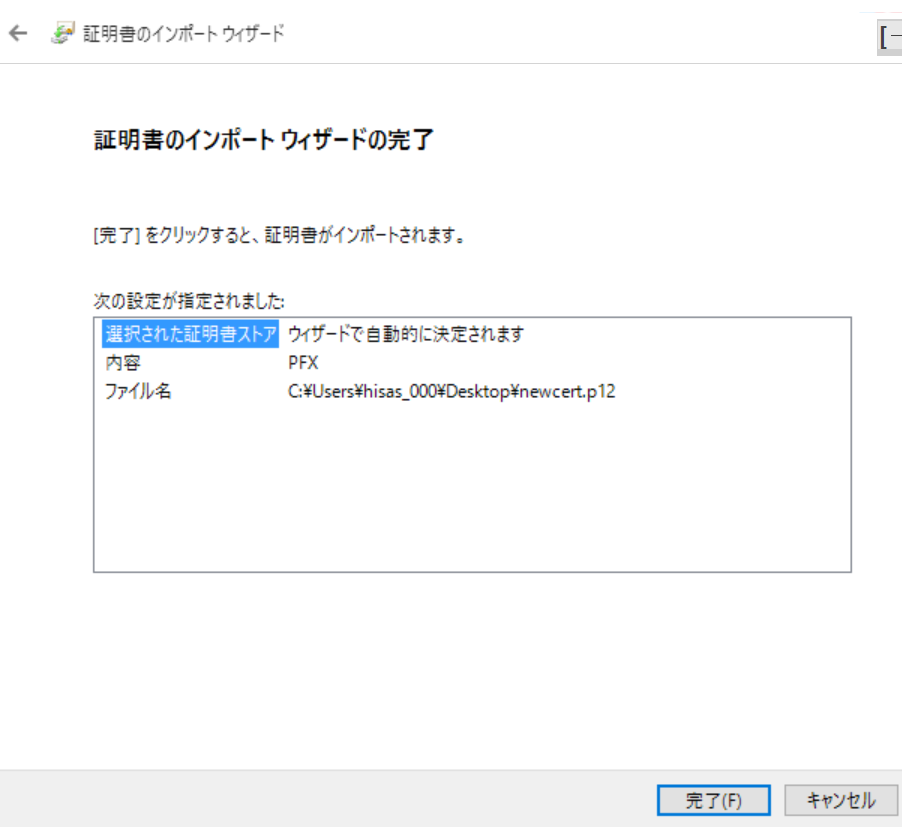
[完了] ボタンを押すと, 証明書のインポートが始まる。
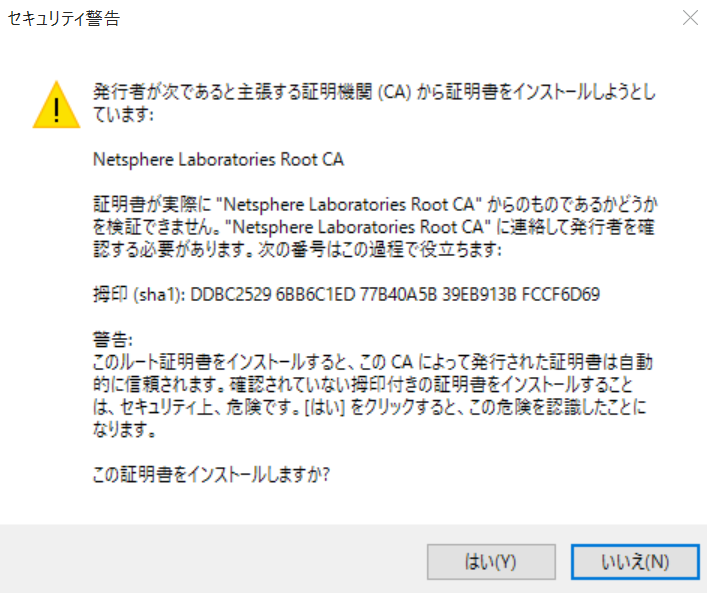
PKCS#12ファイルに含まれる CAの証明書が検証 (verify) できない場合、次のエラーが出る。検証できたときはこのエラーは表示されない。
クライアント証明書に加えて, CA証明書もインストールされる。
インポートされたクライアント証明書 (とCA証明書) は、Webブラウザの証明書ストアで確認できる。
クライアント証明書を表示すると、今回のものに限らず、検証できないという警告がでる。今回の例だと, 中間CAがないので信頼の輪がルートCAまでつながらず、検証できない。
クライアント証明書はサーバ側で検証するので、特に問題ない。
nginxの設定
ssl_verify_client on で、クライアント証明書を要求するようにする。
    server {
        listen 443;
        ssl on;
        server_name www.kiwi.fruits;

        # サーバ証明書 + 中間CA証明書
        ssl_certificate tls/cert-chain.cert;
        # サーバ秘密鍵
        ssl_certificate_key tls/private/ssl-server.private.pem;

        # クライアント証明書を要求
        ssl_verify_client on;

        ssl_verify_depth 2;

        # クライアント証明書の発行者 (issuer) の証明書ファイル => クライアントに送られる
        ssl_client_certificate tls/client-issuer-ca.cert.pem;

        # クライアント証明書を検証するためのルートCA証明書
        ssl_trusted_certificate tls/root-ca.cert.pem;

        location / {
            略
        }
    }
ssl_verify_client on の場合, ssl_client_certificate ディレクティブが必須。ここで指定されたファイルの証明書 (複数可) がクライアントに送られ、クライアント側 (Webブラウザ) で, クライアント証明書の候補を表示する。
クライアントに送信する証明書は, Issuing CA のもの。Root CAではない。
Webブラウザでは, 次のような画面で, ユーザに証明書を選択させる。複数の候補があるときは、いずれかを選ぶ。

クライアント証明書が見つからない場合など, Webブラウザからサーバに対してクライアント証明書が送信されなかった場合は, nginx は 400 Bad Request, No required SSL certificate was sent を返す。
クライアント証明書を検証 (verify) するために、ssl_trusted_certificate と ssl_verify_depth ディレクティブを指定する。
ssl_trusted_certificate は、Issuing CA よりも上位の認証局 (CA) の証明書のファイルを指定する。2 tier CAなら Root CAの証明書。
中間CAを使う場合は, ssl_verify_depthが必須。CA の段数と同じか大きい数を指定しなければ、検証に失敗して, 400 Bad Request, The SSL certificate error になる。
2 tierでなければ指定しなくてもいいので、ネット上の解説では省略されることが多い。トラップ。
クライアント認証に成功すると, $ssl_client_s_dn に Subject, $ssl_client_i_dn に Issuer の DN が入る。C, ST, L, O, CN.